The too long; didn’t read of it
What hardware you’ll need
- An infra red LED
- A resistor
- A Raspberry Pi
- Jumper wires
- A breadboard
- Optionally: A visible light LED for practicing
Tutorials/material I followed
- https://thepihut.com/blogs/raspberry-pi-tutorials/27968772-turning-on-an-led-with-your-raspberry-pis-gpio-pins
- https://www.hackster.io/duculete/ir-remote-with-raspberry-pi-d5cf5f
- https://www.stavros.io/posts/how-turn-your-raspberry-pi-infrared-remote-control/
- http://alexba.in/blog/2013/01/06/setting-up-lirc-on-the-raspberrypi/
- http://www.resistor-calculator.com/
- https://www.raspberrypi.org/documentation/usage/gpio/
- https://raspberrypi.stackexchange.com/questions/50873/lirc-wont-transmit-irsend-hardware-does-not-support-sending
- https://sourceforge.net/p/lirc-remotes/code/ci/master/tree/remotes/cambridge_audio/X40A.lircd.conf
- https://techsupport.cambridgeaudio.com/hc/en-us/articles/200541221-What-are-the-remote-control-codes-for-540-and-640-stereo-amplifiers-and-CD-players-
- https://home-assistant.io/cookbook/
- https://home-assistant.io/help/
- https://home-assistant.io/components/shell_command/
- https://github.com/Maxr1998/home-assistant-Android/issues/27
Motivation
I have a Bluetooth DAC (Digital to Analog Converter) connected to my amp. What this means, is that from the comfort of my hammock, I can connect my phone to it and cast audio wirelessly to a black box that then transmit it to a traditional amp with an RCA cable. Until this project, I did have to either a) happen to have the remote control on me (never happened), or b) walk over to press the standby button to turn the amp on.
ech
I like walking as much as the next person when I’m doing it by choice, but this is definitely a situation that needed improving.
Mapping out options
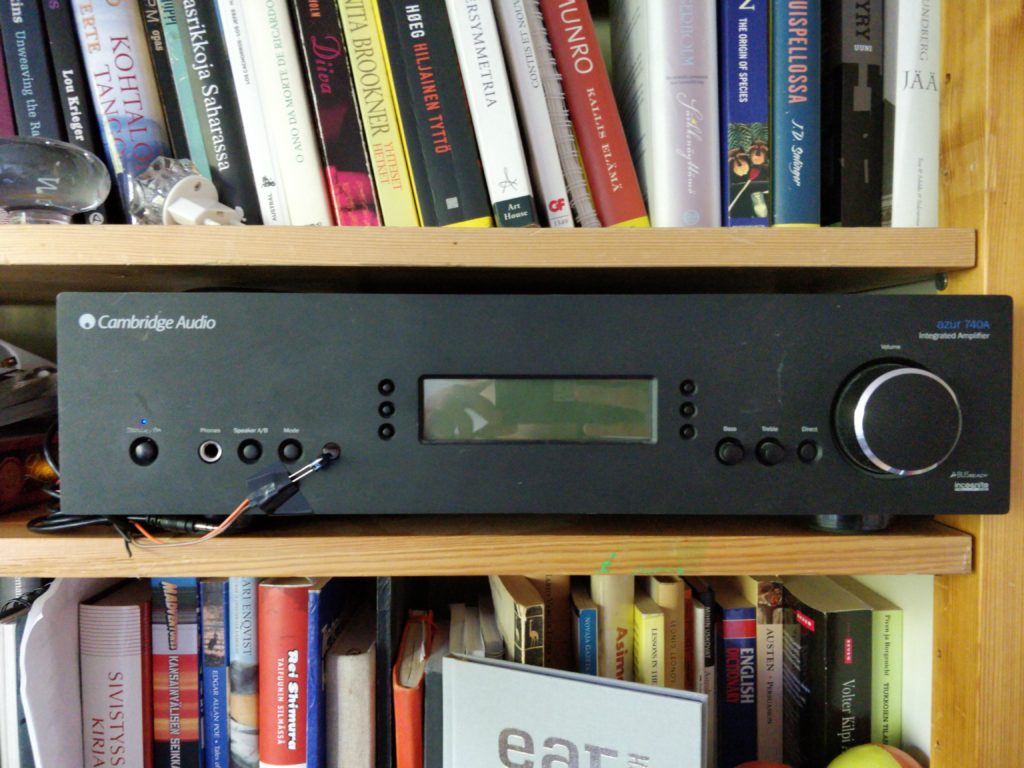
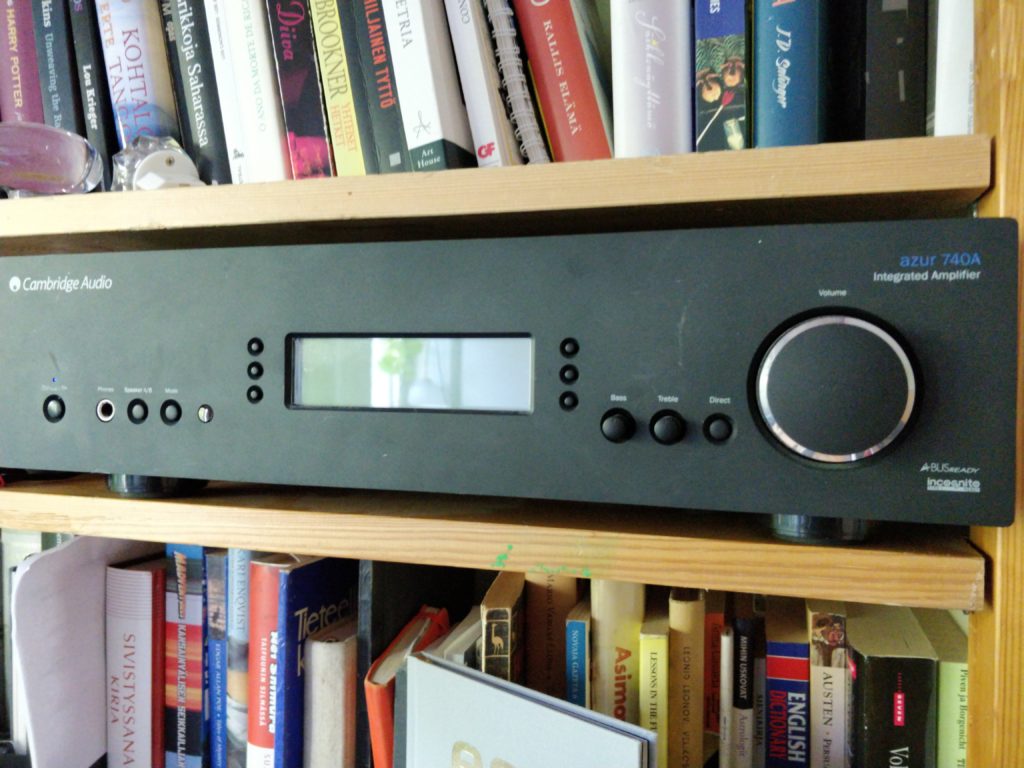
I have a Cambridge Audio Azur 740A
It’s not overly expensive and not all that new, but I thought it might have some controlling interface. Turns out that it actually does

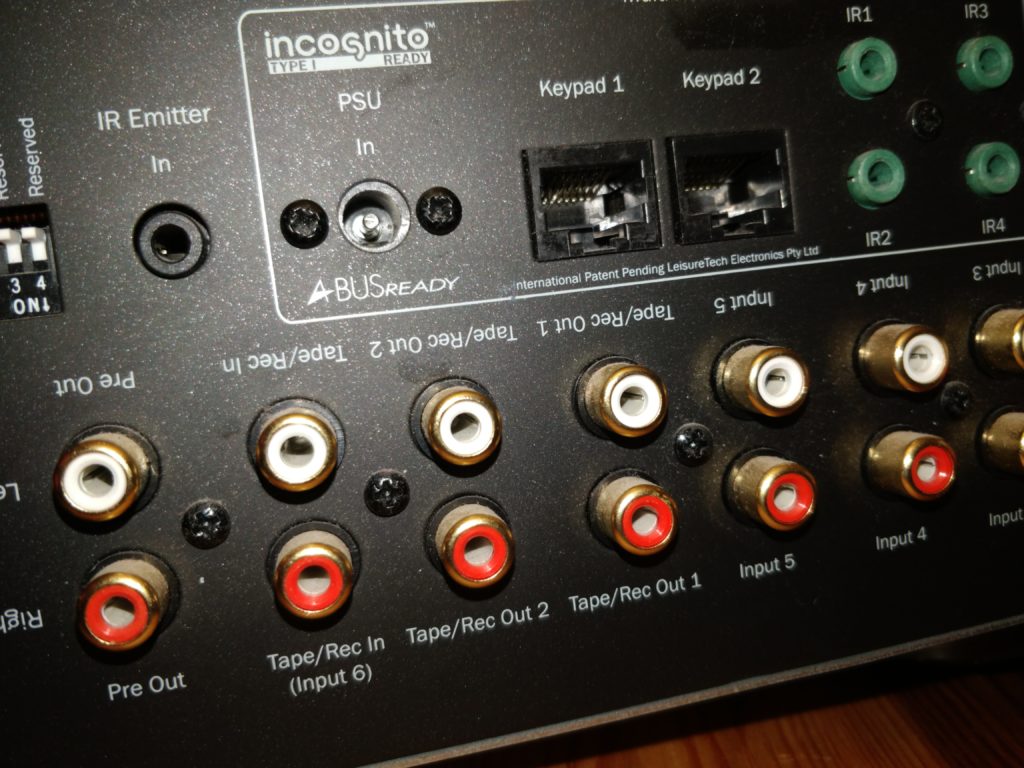
It’s a thing called ABus, and from what I could gather, it would seem that it’s an extremely proprietary thing. I could be wrong, but it’s at least correct to say that I got discouraged enough not to even try.
Instead, what immediately felt possible to emulate for me was this

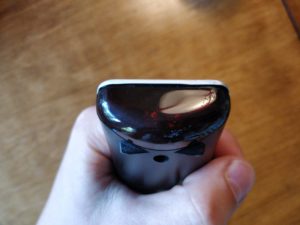
The remote. Remote controls often work by simply flashing an infrared light bulb or LED in a certain rhythm at an infrared sensor (that’s why you have to point with them whereas bluetooth or radio controllers can point in any direction). This one is no exception.


With the plan in place, the rest is implementation details. I’ll go over the steps and link to the tutorials I followed on each step. I won’t repeat things that are well explained in the linked material and each step assumes a successful completion of the previous step.
Basics
Even though I have a physics degree, it’s from theoretical physics and turns out I had to start my electronics project from the very basics, with a tutorial on how to turn on an LED with the GPIO pins of the Raspberry Pi. Here it’s easier to start with a visible light LED, as you can see visible light with your eyes. If you only have an infra red LED, you can use a digital camera (such as the one in your phone) to see infra red.

Sending remote control commands from an IR LED with a Raspberry Pi
Here again it’s simpler to practice with a visible light LED. In the previous step we just turned on and off an LED for a second at a time. That’s fun, but won’t cut it for remote control as the sequences needed are much faster. In fact as I gather, no user space code at time of writing can be fast enough to reliably handle the task with the Raspberry Pi (and I have a 1st gen model, so it’s even slower than current models).
Luckily the standard software for emulating a remote control under Linux is LIRC (Linux Infrared Remote Control) and it has a kernel driver for the Raspberry Pi.
I followed this tutorial. My Raspberry Pi has Arch Linux ARM instead of Raspbian, so for me some of the config files of LIRC were a bit different than the ones in the tutorial. Here are the values I used.
Instead of /etc/modules, I have /etc/modules-load.d/22-lirc.conf with contents
lirc_dev
lirc_rpi gpio_in_pin=23 gpio_out_pin=18
Notice that gpio_out_pin has a different value, because my cables are arranged according to the tutorial from the first step. The value of gpio_in_pin doesn’t matter, because I don’t have anything connected there. That would be useful if I wanted to use LIRC also to learn the correct codes by example from the original remote control, but as we’ll soon see that wasn’t necessary here.
Instead of /etc/lirc/hardware.conf I have /etc/lirc/lircmd.conf with contents
[lircd]
nodaemon        = False
driver          = default
device          = /dev/lirc0
output          = /var/run/lirc/lircd
pidfile         = /var/run/lirc/lircd.pid
plugindir       = /usr/lib/lirc/plugins
permission      = 666
allow-simulate  = No
repeat-max      = 600

[lircmd]
uinput          = True
nodaemon        = False
And finally even though the tutorial claims that modifying /boot/config.txt is necessary only on older kernels, it still didn’t work before I did. Here are the contents of that file
dtoverlay=lirc-rpi,gpio_in_pin=23,gpio_out_pin=18
gpu_mem=64
initramfs initramfs-linux.img followkernel
Update 2019-06-13: On Raspbian now lirc-rpi is deprecated, but gpio-ir works as a drop-in replacement for the purposes in this article. In /boot/config.txt one needs to put
dtoverlay=gpio-ir-tx,gpio_pin=18
End update
The LIRC tutorial uses a more complex circuit, but I found that the one from the basic tutorial was sufficient.
The installation of LIRC on Arch Linux ARM didn’t contain any useful configurations for actual remote control codes, so before we can even try it, we need to get some.
Getting the specific remote control codes for the specific device
In the general case you can get the codes for any device that you have the remote control for. You need an infra red receiver, and you can get one that hooks up over USB and do this step not on a Raspberry Pi but on a bigger machine if you so please. This is not the route I went so I won’t go in to more details about something I don’t know much about.
Luckily Cambridge Audio actually publish the control codes for their equipment. The format, though is a bit dense with little in the way of tutorial information and not something I could immediately use. Even more luckily somebody else has already done the hard work of translating the documentation to a LIRC config file. Just in case you are doing this with something that isn’t the exact same model from the same company that I have, you can try to find your device from the huge tree of supported devices.
I dropped the config file at /etc/lirc/lircd.conf.d/cambridge.conf and at this point could bring my breadboard up close to the amp and issue
$ /usr/bin/irsend SEND_ONCE Cambridge_X40A_Amplifier KEY_SLEEP
on the Raspberry Pi command line. Lo and behold, the amp actually turned on!
If you didn’t find ready made configs for your device, you can still verify that this step works correctly by using the visible light LED. It should flash very briefly when issuing that command.
Using Home Assistant for a GUI
Connecting over SSH to a Raspberry Pi to turn on an amp is fun, but not really useful. The end goal is to have an app on the phone to do it. There are numerous free and open source home automation projects and I chose to try Home Assistant.
Installing it on the Raspberry Pi was a simple
$ pip3 install homeassistantArch Linux ARM uses systemd to manage services, so I put a service file in /etc/systemd/system/home-assistant.service
[Unit]
Description=Home assistant
After=network.target

[Service]
Restart=on-failure
User=YOUR-USER-NAME-HERE

ExecStart=/usr/bin/hass --log-rotate-days 1
RestartForceExitStatus=100

[Install]
WantedBy=multi-user.target
It took me a good while to figure out how to configure Home Assistant to have a button in the UI to run a simple shell command, even though I knew from the Home Assistant Demo (requires Chromium) that it should be possible.
These are the incantations that I put somewhere inside ~/.homeassistant/configuration.yaml (the only other thing there I changed was to enable a password which I’m not showing here for obvious reasons)
shell_command:
        amp_toggle: /usr/bin/irsend SEND_ONCE Cambridge_X40A_Amplifier KEY_SLEEP
        amp_plus: /usr/bin/irsend SEND_ONCE Cambridge_X40A_Amplifier KEY_VOLUMEUP
        amp_minus: /usr/bin/irsend SEND_ONCE Cambridge_X40A_Amplifier KEY_VOLUMEDOWN

script:
        amp_toggle:
            alias: Amp on/off
            sequence:
              - service: shell_command.amp_toggle
        amp_plus:
            alias: Amp more volume
            sequence:
              - service: shell_command.amp_plus
        amp_minus:
            alias: Amp less volume
            sequence:
              - service: shell_command.amp_minus
The trick that took me a while to figure out was that you need both shell_command and script.
At this point you should be able to point your Chromium/Chrome (it really does not work with e.g. Firefox, because it’s checking for Web Components support in a way that passes in Firefox and thus it’s not loading fallback JS, but in actuality the thing still does not work) to http://[IP address or domain name of your Raspberry Pi]:8123/ and click on the Activate buttons.
Finally, the app
Using a web browser is fine and good on my laptop, but the only way I’ve found to reliably get audio over Bluetooth on my Linux laptop is to use an external USB Bluetooth adapter from Technoethical, and I don’t have it on the machine at all times. The internal adapter, even with the binary blob installed only works every once in a while. So I use my phone to listen to audio.
There is an unofficial Android app for Home Assistant, and it’s on F-Droid. Unfortunately, at the time of writing the version on F-Droid didn’t work at all, so I compiled the latest upstream code.
And that’s it! That is the whole stack from the electronics down to having an app with a button I can tap. Add a bit of electric tape to hold the LED close to the sensor and we are officially in production!

Legalities
All images and text copyright Daniel Landau, some rights reserved.

Turning a Cambridge Audio Amp on with a Phone by Daniel Landau is licensed under a Creative Commons Attribution-ShareAlike 4.0 International License.

You can connect directly to the ”Control Bus” (orange RCA) socket on the back, no LED and no 38khz modulation required.
Or you can use the IR emitter port, which I think still needs the 38khz modulation.
This is how I solved it on mine: https://github.com/andrew-bolin/pi_hifi_ctrl